Table of Contents
ToggleA pergola over your pool isn’t just eye candy, it’s a practical solution that extends your swim season, protects against UV exposure, and creates a defined outdoor living space. Whether you’re after Mediterranean charm, sleek minimalism, or a vine-draped retreat, the right pergola design transforms your pool area into an inviting oasis. The beauty of pergolas is their versatility: they work with nearly any pool shape, budget, and aesthetic. This guide walks you through ten compelling pergola styles, from classic wood to adjustable louvers, plus DIY options if you’re ready to build. Let’s explore how to elevate your backyard and get the most from your pool investment.
Key Takeaways
- Pergola over pool ideas range from classic wooden designs to modern motorized adjustable louvers, each offering unique benefits in aesthetics, maintenance, and shade control.
- Wooden pergolas provide timeless warmth and natural beauty but require resealing every 2–3 years, while metal pergolas demand minimal maintenance and suit contemporary spaces.
- Vine-covered pergolas create lush living canopies in 2–3 years, with deciduous varieties allowing winter sun and evergreen options providing year-round privacy.
- Adjustable louvered pergolas ($3,000–$8,000 installed) offer luxury flexibility with motorized controls, though manual options ($1,500–$3,500) deliver shade control without electrical complexity.
- DIY pergola construction costs $400–$800 in materials versus $2,500–$4,000 professionally installed, but requires proper post footings below frost line and careful beam sizing to handle wind loading and deck capacity.
Classic Wooden Pergolas for Timeless Appeal
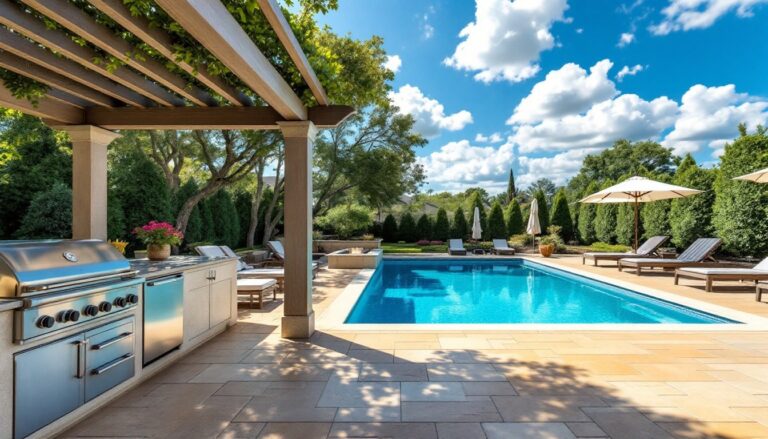
Wooden pergolas are the go-to choice for homeowners who want warmth and natural beauty. Pressure-treated lumber (typically 4×4 posts and 2×10 beams) resists rot and insects, making it ideal for wet pool environments. Cedar and redwood are premium options, they’re naturally decay-resistant, age gracefully to a silver-gray patina, and won’t require pressure treatment chemicals around your water.
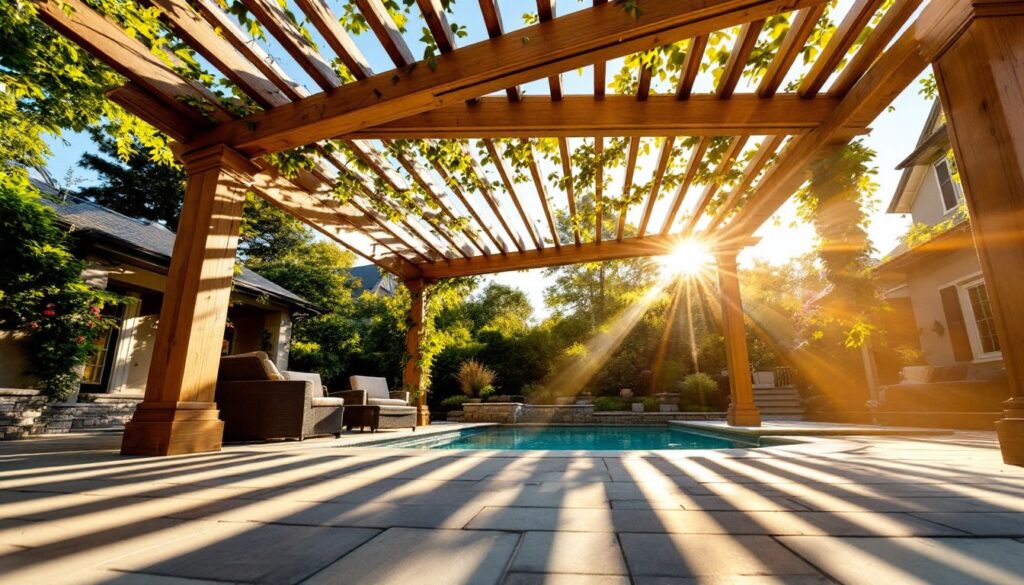
A classic slatted overhead design offers dappled shade without blocking all sunlight, letting you enjoy the warmth while reducing glare on the water. Most homeowners space 1-inch to 2-inch slats roughly 12 inches apart overhead, creating that iconic pergola look. Height matters: keep at least 8 to 9 feet of clearance above the deck so taller guests don’t duck, and account for 12+ inches of beam depth when measuring.
Wooden pergolas will need maintenance, resealing every 2–3 years keeps wood protected and looking fresh. If you’re not keen on upkeep, this route requires commitment. That said, the warmth and character they bring is worth the effort for many poolside spaces.
For inspiration and deeper design principles, explore hardscaping fundamentals and pergola construction techniques to understand structural strategies before building.
Modern Metal Pergolas for Contemporary Spaces
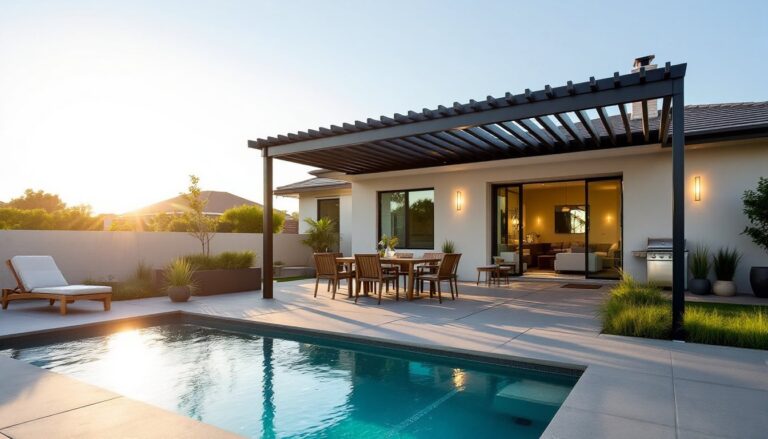
Metal pergolas, typically powder-coated aluminum or steel, deliver clean lines and minimal maintenance. They’re perfect if your home has a modern or industrial aesthetic. Aluminum is lighter and won’t rust, while steel offers more visual weight and durability: both handle pool humidity far better than untreated wood.
Design-wise, metal pergolas often feature geometric patterns, flat-top or curved profiles, and slim profiles that don’t clutter your sight line. Because they’re durable, you can push contemporary boundaries: cantilevered beams over deeper water, integrated lighting rigged to the frame, or a mix of metal slats with clear polycarbonate panels for flexible shade control.
Cost is typically higher than budget wood, expect 30–50% more per square foot, but longevity and zero maintenance balance that out. Professional installation is common because metal work demands precision welding or bolted connections. Many homeowners pair metal pergolas with composite decking and stone pavers for a cohesive, low-maintenance poolside.
The Spruce for contemporary pool deck inspiration and modern hardscaping trends that work with metal pergola designs.
Vine-Covered Pergolas for Natural Shade and Privacy
Planting vines on your pergola transforms bare structure into a lush canopy. Clematis, climbing hydrangea, and wisteria are popular choices in most regions: they leaf out quickly, tolerate part shade, and create living privacy screens. Before planting, confirm your USDA hardiness zone, what thrives in zone 6 won’t survive zone 9 heat.
Vine growth is slower than you’d expect, expect 2–3 years before substantial coverage. Plant at pergola posts with rich, well-draining soil amended with compost, and irrigate consistently in the first season. Once established, vines need pruning to prevent taking over gutters or overwhelming nearby structures. Wisteria, for example, is beautiful but aggressive: tame it yearly.
Shade levels vary by vine density and leaf type. Deciduous vines (clematis, wisteria) lose leaves in winter, letting warmth in when the pool’s closed. Evergreen options (ivy, climbing fig in warmer zones) provide year-round shelter and privacy but block winter sun entirely. Combine vine choice with the dappled light from your pergola slats to dial in the exact shade you want.
Vines also attract bees and pollinators, wonderful for the ecosystem, but confirm no one in your household has severe allergies before planting heavily.
Adjustable Louvered Pergolas for Flexible Light Control
Motorized adjustable louver pergolas are the luxury option: slats open fully for unobstructed sun, close to create complete shade, or angle anywhere in between. Models run $3,000–$8,000+ installed, but if you want to swim in full sun one hour and full shade the next, this is the answer.
They’re typically aluminum with a motorized actuator, operated by remote or wall-mounted switch. Many integrate with smart-home systems so you can adjust shade alongside your pool heater or lighting. Rain sensors automatically close louvers if a storm hits, protecting the mechanism and your deck.
Installation requires electrical work, most demand a 120V or 240V outlet within 10–15 feet and proper grounding. This isn’t a DIY job for amateurs. A licensed electrician and structural installer handle the setup to ensure safety and warranty coverage. Maintenance is light, occasional cleaning and lubricating hinges, compared to wood sealing or vine pruning.
Budget-conscious homeowners skip the motor and go with manual adjustable pergolas (crank or lever-operated) for $1,500–$3,500 installed, gaining flexibility without the electrical complexity.
Budget-Friendly DIY Pergola Options
Building a pergola yourself is achievable if you’re comfortable with basic carpentry, a circular saw, and a drill. A modest 10×12 wooden pergola using pressure-treated 4×4 posts and 2×8 beams typically runs $400–$800 in material, versus $2,500–$4,000 installed.
The trade-off: time. A two-person team generally needs a full weekend to lay footings, set posts, and assemble the frame. Mistakes (off-level posts, misaligned beams) become obvious once you’re bolting pieces together, so measure twice, cut once, and dry-fit before fastening permanently.
Structural considerations matter. Posts must sink at least 2–3 feet into the ground (below frost line in cold climates) or rest on concrete footings to prevent heaving. If your pergola spans across or over your pool deck, make sure the deck framing is adequate to handle lateral loads from wind and cantilevered sections. Undersizing beams is a common DIY mistake, consult span charts or a structural engineer if you’re uncertain.
Materials and Tools You’ll Need
Materials:
- Pressure-treated 4×4 posts, 2×8 or 2×10 beams, 1×4 or 2×4 slats
- 3-inch galvanized deck screws and ½-inch galvanized bolts with washers
- Concrete footings (60-lb bags) or pre-made post bases
- Exterior wood stain or sealant (2–3 gallons for average 10×12 frame)
Tools:
- Circular saw (or miter saw for angle cuts)
- Cordless drill with bits
- Level (4-foot minimum)
- Tape measure, pencil, speed square
- Post level or laser level (helpful but optional)
- Shovel for digging post holes
- Paintbrushes and drop cloth
Safety Gear:
- Safety glasses and work gloves
- Dust mask when cutting pressure-treated lumber
- Ear protection if using power tools for extended periods
For detailed design and construction strategies, reference hardscaping guides that cover pergola fundamentals.
Essential Installation and Safety Considerations
Before breaking ground, confirm you’re not digging into utility lines. Call your local utility locating service (usually free) so they mark gas, electric, and water lines. Hitting a buried cable isn’t just expensive, it’s dangerous.
Permits vary by jurisdiction. Most municipalities require permits for structures over 120 square feet, or if your pergola is attached to the house. Pool-adjacent work sometimes triggers additional inspections, especially if the structure affects pool safety barriers or deck load-bearing capacity. Check with your local building department: it takes 10 minutes and saves months of headaches later.
Wind loading is critical. Pergolas act like sails in storms: your local building code specifies design wind speeds (often 85–120 mph depending on region). Posts, footings, and connections must handle these lateral forces. If you’re DIY-ing and unsure, request a structural engineer’s stamp, they’ll give you beam sizes and bolt patterns specific to your location, typically costing $200–$400 and providing legal protection.
For pool-specific safety, check that your pergola doesn’t create entrapment hazards if you have young children. Spacing between slats shouldn’t be between 1.5 and 6 inches (a child’s head could wedge). Wider spacing (>6 inches or <1.5 inches) is safer.
Finally, inspect your pool deck framing where the pergola attaches. Oversized cantilevered sections transfer weight that may exceed the deck’s design load. If uncertain, a structural engineer earns their fee by preventing costly failures. Check HGTV’s home design guides for inspiration on integrating pergolas safely into outdoor living spaces.